
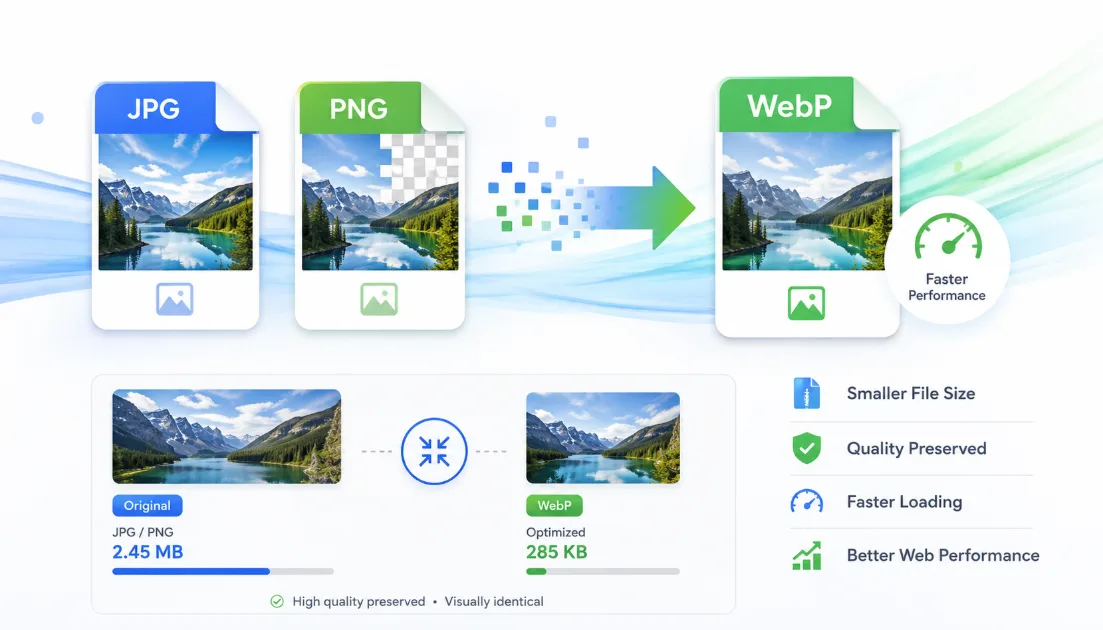
Large images can make websites slower, increase bandwidth usage, and create a poor experience for visitors on mobile connections. Converting JPG and PNG to WebP is one practical way to reduce image file size while preserving strong visual quality.
Can JPG and PNG images be converted to WebP without losing quality? Yes, but the result depends on the compression method. Lossless WebP can preserve pixel data, while high-quality lossy WebP can make files smaller with little or no noticeable visual degradation. The quality setting, source image, dimensions, and number of previous conversions all affect the final result.
What Is WebP?
WebP is a modern raster image format developed for efficient image delivery on the web. It supports both lossy and lossless compression, transparency, and animation.
Lossy compression removes some image information to create a smaller file. Lossless compression preserves the decoded pixel data but may create a larger output than a lossy version.
WebP is useful for websites because it can handle several types of content:
- Photographs
- Blog featured images
- Transparent graphics
- Screenshots
- Product images
- Animated visuals
It can often replace JPG for photographs and PNG for transparent web graphics, although the best format should always be chosen by testing the actual output.
JPG vs PNG vs WebP
| Format | Best For | Transparency | Compression Type | Typical File Size | Main Limitation |
|---|---|---:|---|---|---|
| JPG | Photographs and complex images | No | Lossy | Usually small | Repeated compression reduces quality |
| PNG | Logos, screenshots, graphics, transparency | Yes | Lossless | Often larger | Can be inefficient for photographs |
| WebP | Modern web photos and graphics | Yes | Lossy or lossless | Often smaller | Some older software may not support it |
JPG is commonly used for photographs because it compresses complex visual information efficiently. However, JPG does not support transparency.
PNG is better for logos, screenshots, interface elements, and images that require transparent backgrounds or exact pixel reproduction. Its files may become large when used for photographs.
WebP combines several strengths of both formats. It can use lossy compression for photographs or lossless compression for graphics and transparency-sensitive images.
Why Convert JPG and PNG to WebP?
Converting suitable images to WebP can provide several benefits.
Smaller image files
WebP compression can reduce the amount of data visitors must download. The actual reduction depends on the source file, image content, quality level, and converter.
Faster page loading
Smaller images may download more quickly, particularly on mobile networks. However, format conversion alone is not enough. Image dimensions, caching, server speed, and responsive delivery also affect performance.
Better mobile performance
A properly resized WebP file can consume less mobile data and reduce the time required to display image-heavy pages.
Reduced bandwidth usage
Smaller files may lower hosting or CDN transfer requirements, especially for websites with many visitors or large product galleries.
Improved user experience
Faster images can make articles, stores, galleries, and landing pages feel more responsive.
Support for Core Web Vitals and SEO
Image optimization may help improve page performance and user experience. Responsive images can also prevent smaller devices from downloading unnecessarily large files.
However, converting images to WebP does not automatically improve rankings. It is one part of a broader technical SEO and performance strategy.
How to Convert JPG and PNG to WebP Without Losing Quality
The phrase “without losing quality” usually means without noticeable quality loss, unless true lossless compression is used.
Use these recommendations as a starting point:
- Use lossless WebP for logos, screenshots, graphics, and images containing small text.
- Use high-quality lossy WebP for photographs.
- Start between quality 80 and 90 for most photos.
- Compare the original and converted image at 100% zoom.
- Avoid repeatedly converting already compressed files.
- Preserve transparency when converting PNG images.
- Keep a backup of every original JPG or PNG file.
A lossless conversion preserves decoded pixels, but it does not restore quality already removed from a previously compressed JPG.
Method 1: Convert Images Using an Online Tool
An online JPG to WebP converter or PNG to WebP converter is convenient for occasional conversions.
Step-by-step process
1. Choose a reputable image converter.
2. Upload the JPG or PNG file.
3. Select WebP as the output format.
4. Choose lossy or lossless compression.
5. Select a quality setting if using lossy compression.
6. Download the converted file.
7. Compare the original and WebP versions.
Check the output for:
- Fine detail
- Text sharpness
- Color consistency
- Transparent edges
- Gradients
- File size
Before uploading confidential images, review the service’s privacy policy. Determine whether the image is processed locally in your browser or uploaded to a remote server, how long files are stored, and whether metadata is removed.
Method 2: Convert Images Using Desktop Software
Desktop image editors and dedicated conversion applications provide more control and privacy than many online tools.
They are useful when you need:
- Batch conversion
- Detailed quality settings
- Metadata controls
- Resizing
- Side-by-side comparison
- Offline processing
A general desktop workflow is:
1. Open the original JPG or PNG.
2. Resize it to the required website dimensions.
3. Choose Export, Save As, or Save for Web.
4. Select WebP as the format.
5. Choose lossy or lossless compression.
6. Set the quality level.
7. Preserve transparency when required.
8. Export and compare the result.
For major edits, continue working from the original source file rather than editing and resaving the WebP repeatedly.
Method 3: Convert Images in WordPress
WordPress users can generate and deliver WebP images through several approaches:
- Image optimization plugins
- Automatic WebP generation
- Server-side conversion
- CDN image optimization
- Manual WebP uploads
WordPress has supported WebP uploads since version 5.8 when the hosting environment supports the required image processing.
Before enabling automatic conversion:
1. Test the plugin on a staging site.
2. Back up the Media Library.
3. Keep the original JPG and PNG files.
4. Avoid running several plugins that perform the same optimization.
5. Check transparent PNG images carefully.
6. Clear the site and CDN caches.
7. Confirm that visitors are actually receiving WebP files.
You can inspect the image request in your browser’s developer tools and check the response type or file URL.
Method 4: Convert Images With Command-Line Tools
Developers and advanced users can use Google’s `cwebp` command-line encoder.
Convert JPG to WebP
```bash
cwebp -q 85 input.jpg -o output.webp
```
Convert PNG to lossless WebP
```bash
cwebp -lossless input.png -o output.webp
```
The `-q` value controls lossy quality from 0 to 100. A higher number generally preserves more detail but produces a larger file. Google’s official encoder uses 75 as its default lossy quality setting.
For PNG photographs or complex artwork, you may also test:
```bash
cwebp -q 85 input.png -o output.webp
```
Do not assume that every PNG must use lossless mode. Compare both versions when exact pixel preservation is unnecessary.
Lossy vs Lossless WebP
| Image Type | Recommended Mode | Typical Use Case | File Size Impact | Quality Considerations |
|---|---|---|---|---|
| Photographs | Lossy | Products, travel, food, portraits | Usually much smaller | Inspect texture, skin, and gradients |
| Blog thumbnails | Lossy | Article cards and previews | Small | Moderate compression is often acceptable |
| Screenshots with text | Lossless or very high quality | Tutorials and interfaces | Medium | Text and fine edges must remain sharp |
| Logos and graphics | Lossless | Branding and icons | Medium | Preserves exact edges and colors |
| Transparent images | Test both | Cutouts and overlays | Varies | Check alpha edges carefully |
Lossy WebP is normally best for photographs because small amounts of removed data can create significant file-size savings.
Lossless WebP is generally better for logos, screenshots, illustrations, and graphics where exact edges or text clarity matter.
Best Quality Settings for WebP
There is no universal setting that works for every image, and quality scales may behave differently across tools.
Useful starting points include:
- Photographs: quality 80–90
- Blog thumbnails: quality 75–85
- Screenshots with text: lossless or very high quality
- Logos and graphics: lossless
- Transparent images: compare lossless and high-quality lossy output
Start at a high setting, inspect the image, and gradually reduce quality until defects become noticeable. Then move slightly higher.
Do not select quality 100 automatically. The visual improvement may be small while the file-size increase may be substantial.
How to Check Image Quality After Conversion
Compare the original and converted image at 100% zoom.
Inspect:
- Fine textures
- Hair and skin tones
- Small text
- Colored edges
- Gradients
- Shadows
- Transparent borders
- Color consistency
- Compression artifacts
Also view the image at its real website size. Defects visible under extreme zoom may not matter to visitors, while small interface text may appear acceptable in a preview but become blurry on the published page.
Test the result on desktop and mobile screens.
Common Mistakes to Avoid
Avoid these common image optimization errors:
- Applying excessive compression
- Using identical settings for every image
- Deleting original files
- Recompressing low-quality images repeatedly
- Forgetting to preserve PNG transparency
- Uploading images with unnecessarily large dimensions
- Assuming the smallest file is always the best result
- Using multiple WordPress plugins for the same task
- Failing to test the published image
- Ignoring older software or platform requirements
A slightly larger image with clear details is usually better than an aggressively compressed image that looks damaged.
JPG to WebP vs PNG to WebP
JPG and PNG files should not always be treated in the same way.
Converting JPG to WebP
JPG photographs normally benefit from lossy WebP compression. Because the source is already lossy, avoid repeated conversions and use the highest-quality original available.
Converting PNG to WebP
PNG graphics may require lossless WebP to preserve sharp lines, transparent edges, and small text.
Transparent PNG files should be tested against light and dark backgrounds. Some complex PNG illustrations may work well as high-quality lossy WebP, while small optimized PNG icons may not become meaningfully smaller.
Convert and compare rather than replacing every PNG automatically.
Frequently Asked Questions
Does converting JPG to WebP reduce quality?
Lossy conversion removes some image information, but a carefully selected quality setting can avoid noticeable degradation. True lossless WebP can preserve decoded pixels, although the file may not be smaller.
Can PNG transparency be preserved in WebP?
Yes. WebP supports alpha transparency. Make sure the converter is configured to preserve it, then inspect the edges on different backgrounds.
What is the best WebP quality setting?
For photographs, 80–90 is a useful starting range. The best setting depends on the image, converter, dimensions, and intended display size.
Is WebP better than JPG and PNG for every image?
No. WebP is often efficient for web delivery, but a small optimized PNG, an existing JPG, or an SVG may sometimes be the better choice.
Does WebP improve SEO?
WebP does not guarantee better rankings. Smaller, properly sized images may support faster loading and better user experience, which are useful parts of technical SEO.
Should I delete the original JPG and PNG files?
No. Keep original files for editing, future conversion, printing, and alternative formats.
Can I convert multiple images to WebP at once?
Yes. Many desktop tools, online converters, WordPress plugins, command-line utilities, and CDN services support batch processing.
Conclusion
Converting JPG and PNG to WebP can reduce image file size and improve website delivery without noticeable quality loss when the right method and settings are used.
Choose your workflow according to your needs:
- Use online tools for occasional conversions.
- Use desktop software for privacy and detailed control.
- Use WordPress plugins for automated website optimization.
- Use command-line tools for batch processing and development workflows.
For photographs, begin with high-quality lossy WebP around 80–90. For logos, screenshots, and transparency-sensitive graphics, begin with lossless WebP.
Always compare visual quality and file size, test the result on desktop and mobile, and keep the original JPG and PNG files before replacing images on your website.
Use our JPG to WebP Converter to optimize JPG photos, or try the PNG to WebP Converter to reduce PNG file size while preserving transparency and visual quality.